Prerequisites
Platform Setup
This tutorial assumes you will have access to a Kubernetes cluster with Istio installed.
This tutorial has been tested using:
Tip
Platform dependent tasks will be indicated with a special note like this.This tutorial has been tested using:
- minikube v1.16.0, istio 1.8.1 and kiali v1.28.0
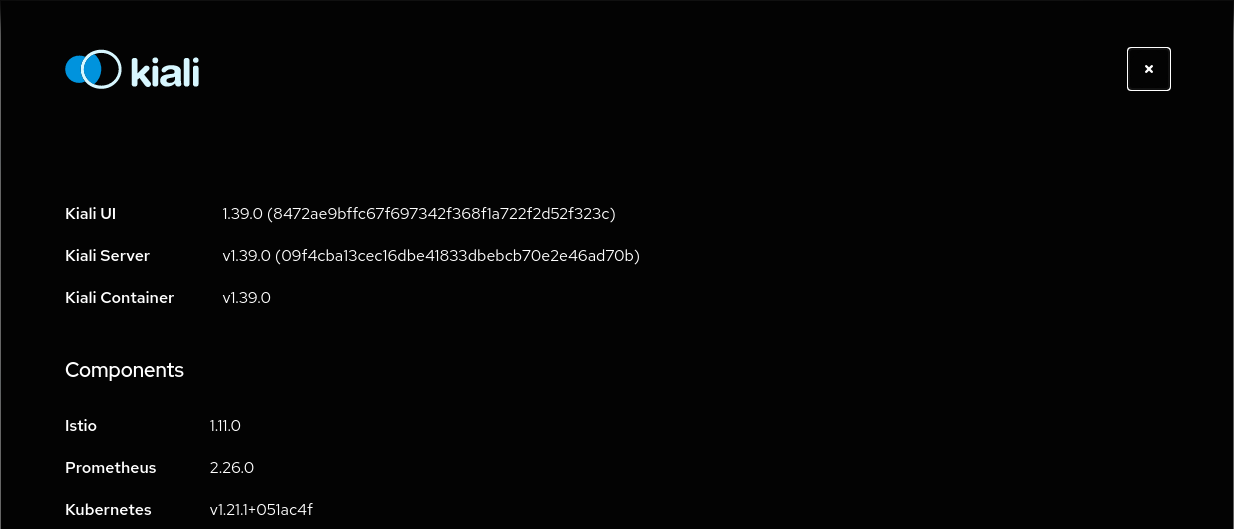
- openshift v4.8.3, istio 1.11.0 and kiali v1.39.0
Install Istio
Once you have your Kubernetes cluster ready, follow the Istio Getting Started to install and setup a demo profile that will be used in this tutorial.
DNS entries can be added in a basic way to the /etc/hosts file but you can use any other DNS service that allows to resolve a domain with the external Ingress IP.
Minikube
This tutorial uses Minikube tunnel feature for external Ingress IP.OpenShift
This tutorial uses a route for external Ingress IP.Update Kiali
Istio defines a specific Kiali version as an addon.
In this tutorial we are going to update Kiali to the latest release version.
Assuming you have installed the addons following the Istio Getting Started guide, you can uninstall Kiali with the command:
kubectl delete -f ${ISTIO_HOME}/samples/addons/kiali.yaml --ignore-not-found
There are multiple ways to install a recent version of Kiali, this tutorial follows the Quick Start using Helm Chart.
helm install \
  --namespace istio-system \
  --set auth.strategy="anonymous" \
  --repo https://kiali.org/helm-charts \
  kiali-server \
  kiali-server
Access the Kiali UI
The Istio istioctl client has an easy method to expose and access Kiali:
${ISTIO_HOME}/bin/istioctl dashboard kiali
There are other alternatives to expose Kiali or other Addons in Istio. Check Remotely Accessing Telemetry Addons for more information.
After the Prerequisites you should be able to access Kiali. Verify its version by clicking the “?” icon and selecting “About”:
